How to Blow Out Your Sprinklers Safely (and the Signs You Should Not Try)
A plain-language walk-through of how to winterize a sprinkler system with compressed air — written honestly, including the properties where the right answer is to call a certified contractor instead.
There is a sensible version of DIY sprinkler winterization and there is a reckless one. The sensible version is a specific sequence with a right-sized compressor, a regulator and a gauge, performed zone by zone and in the right order. The reckless version is a borrowed pancake compressor, no regulator, and the hope that visible mist means a cleared line. This piece walks through the sensible version — and names the properties where the honest answer is to pay a contractor rather than do it yourself.
Before you decide: three signs this is not a DIY job
- 1Your system runs on a pump — well, lake intake or a licensed surface source. Winterizing pumped systems adds steps and risk that routine residential DIY does not cover.
- 2You cannot locate an isolation valve on your supply line, or you are not sure whether your backflow assembly is a DCVA or an RPZ. Both facts matter, and guessing is expensive.
- 3Your available compressor delivers less than 10 CFM at operating pressure. Any residential system will be under-cleared by that compressor, regardless of how long you run it.
If any of the above apply
Pause the DIY plan and request a quote. The piece on compressor sizing covers the CFM reasoning in detail; the piece on PSI covers the pressure ceilings. Both are elsewhere on this site, and both describe the same conclusion from different angles.
The equipment you actually need
- A compressor delivering adequate CFM at low pressure for your system size (see sizing piece).
- A pressure regulator rated to your system's ceiling, installed between the compressor and the irrigation blowout fitting — not negotiable.
- A pressure gauge at the blowout port so you are reading what is actually at the fitting, not what the compressor thinks it is making.
- The correct brass blowout adapter for your system's irrigation blowout port — not a garden-hose end connected to a hose bibb.
- A pair of gloves, hearing protection and eye protection. Compressed air at a lawn-edge head is loud and messy.
The sequence
- 1Shut off the irrigation supply at your isolation valve on the house side, so the backflow and downstream are isolated from the mainline.
- 2Open the drain port on the backflow assembly and let gravity do what it can before you touch air at all. Water that is already out does not need to be blown out.
- 3Open a downstream manual drain or run a zone briefly on controller to depressurise the system past the backflow.
- 4Connect the compressor to the blowout port through the regulator. Set the regulator — not the compressor — to the pressure appropriate to your pipe type (50 psi on polyethylene, 80 psi on PVC, 25 to 30 psi for drip-only zones).
- 5Start at the zone furthest from the compressor. Run it from the controller, not by firing air blind, so the solenoid is open properly.
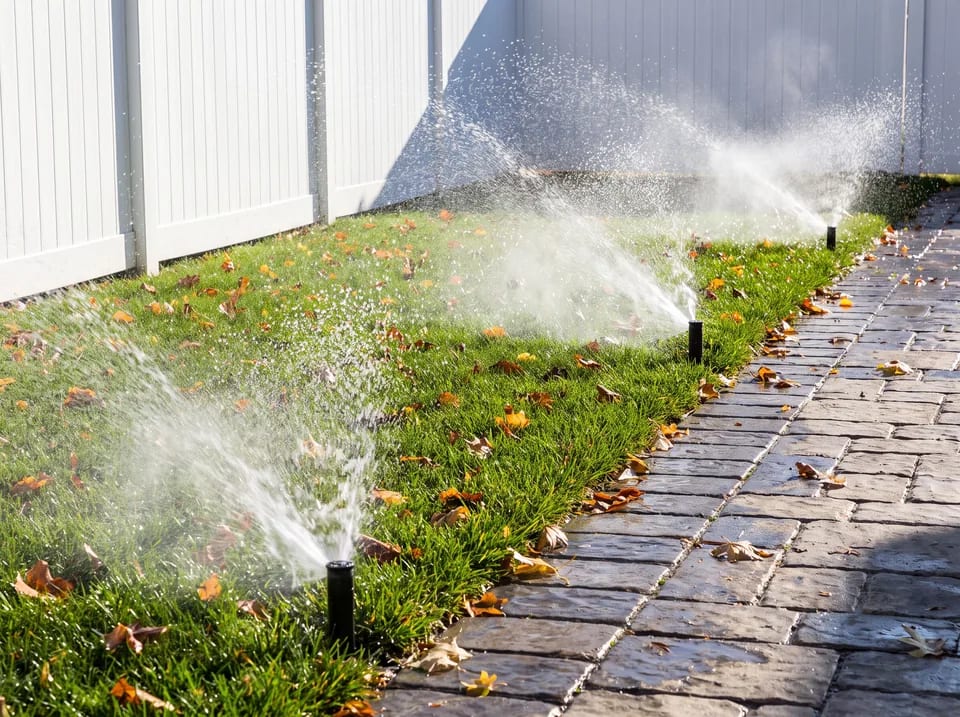
- 6Watch the heads. Air arriving at the far head produces a strong fine mist that becomes a lighter plume as water clears and then thins to dry air. Stop as soon as the mist thins — running a zone dry on air damages gear bodies and seals.
- 7Move to the next zone, closer to the compressor, and repeat.
- 8After the first full pass, go back to the beginning and run every zone again briefly. The second pass is where water that migrated during the first pass actually leaves.
- 9Close the irrigation side of the backflow when complete; leave the test cocks pointing downward and partially open on an RPZ so any trapped water escapes rather than freezing.
- 10Set the controller to seasonal off, or power it down. Replace the controller's backup battery while you are here.
The signs you are doing it right
On a properly sized compressor at the correct regulated pressure, each zone takes between one and three minutes of clearing air per pass, and typically needs two short passes rather than one long one. Mist at the heads is a signal, not a goal; you are watching for mist that becomes dry air, which is the point at which the lateral is cleared and the zone is done. If you have been running a zone for ten minutes and still see mist, your compressor is under-sized and you are not clearing it — stop and reconsider rather than running it longer.
The one habit that saves components
Treat the regulator as the pressure limit and never adjust up during the job to speed things along. The pressure ceiling exists because exceeding it damages the components whose protection is the entire reason for the service. There is no scenario in which running at a hundred psi finishes faster rather than finishing broken.
After the blowout
Drain the backflow assembly completely; a surprising fraction of winter damage happens there rather than in the laterals, because the assembly is above ground and freezes first. If your backflow is in an exposed location and you live at elevation, consider an insulated cover or a heat tape rated for outdoor use — Big White, Black Mountain and Joe Rich properties see hard freeze earlier than the valley floor and the risk window is longer. Drip filters and any pump housing need their drain plugs opened too, and the controller needs to be set to seasonal off so a sudden warm spell does not fire an orphaned zone against a drained system.
What to do with the result
A good DIY blowout on the right property is a legitimate way to handle winterization. A bad DIY blowout on the wrong property is a bill in April. If you walked through the sections above and anything in them made you pause, the quote form on this site passes a short description of your system to local contractors so you can compare prices before deciding. The spring start-up checklist elsewhere on this site is worth reading now rather than next March — it tells you what to look for if you do winterize yourself and want to know whether it held.